One of my favorite blogs to follow is IHeart Organizing. I get so many of my ideas there. Recently Jen had posted about a chalkboard calendar she'd made for her son and I knew I'd be trying one myself.
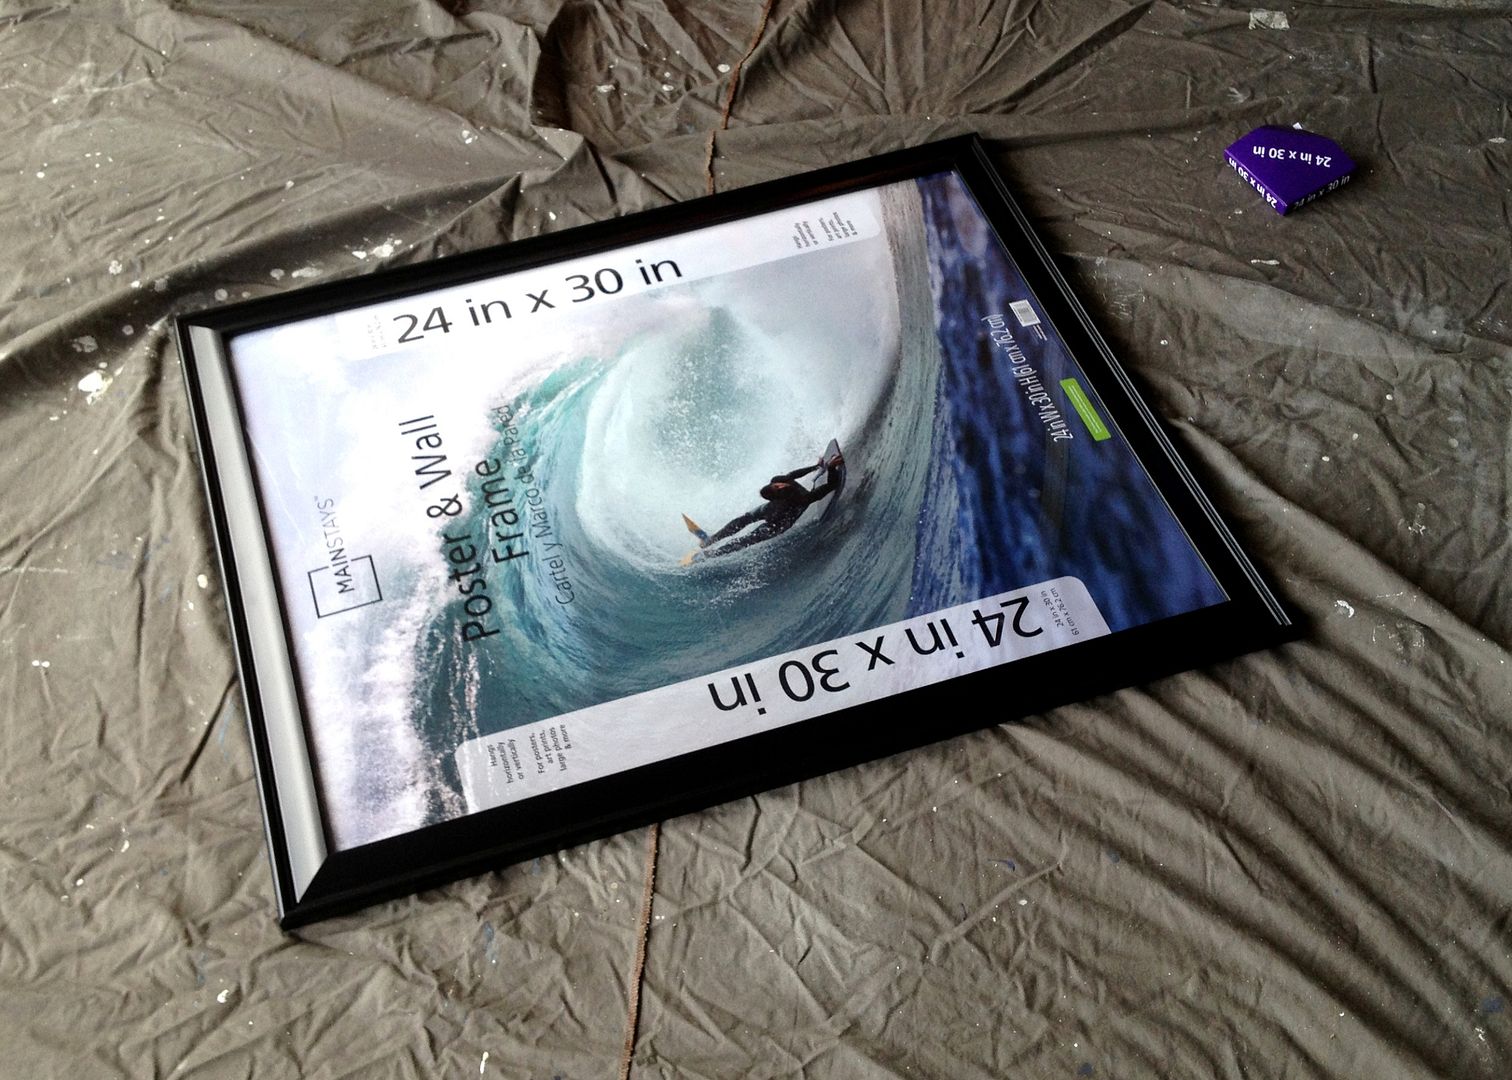
I also knew I didn't have the skills to make my own. I'd been on the look out for an inexpensive frame but hadn't seen anything awesome until I came across this baby at walmart for under $20. Perfect! It came in like 10 different sizes also.
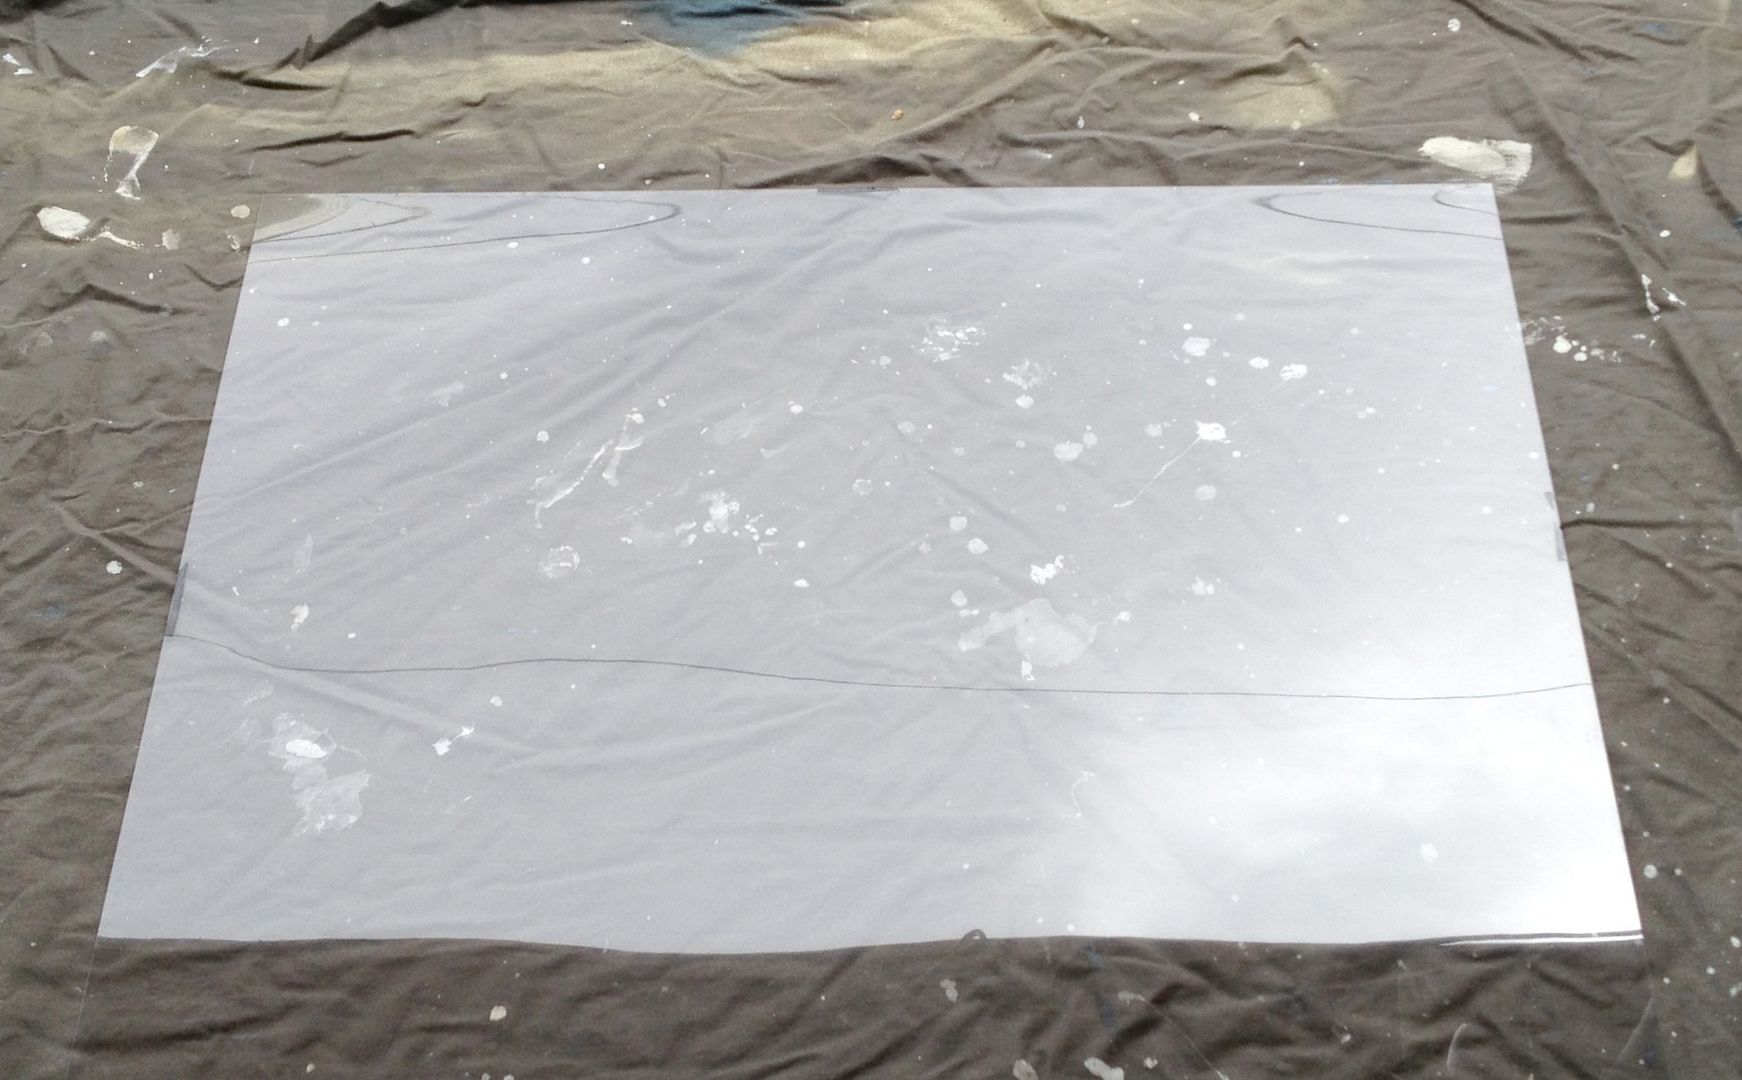
Then I separated the plastic front piece from the frame and back.
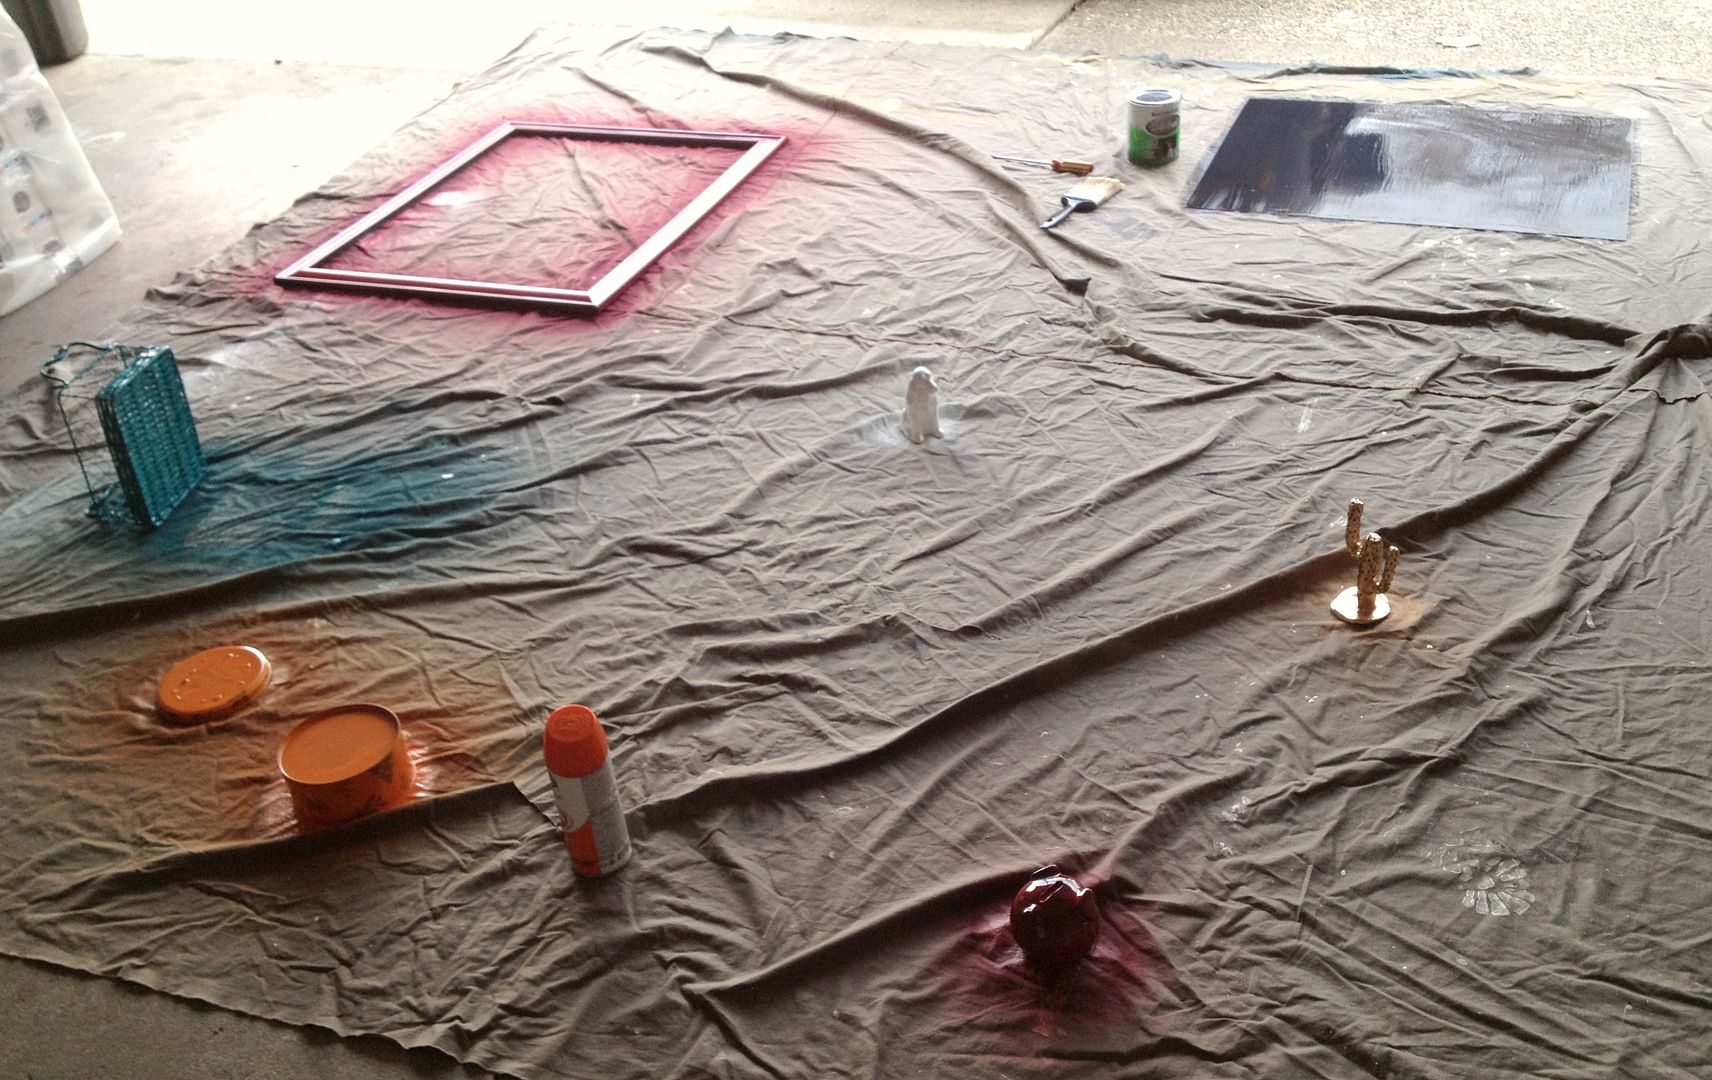
Using Rustoleum Chalkboard Paint that I got at Walmart, USA for under $10 I got to work painting. I did it in three coats, leaving at least 4 hours in between each coat. It looks navy blue as you paint but dries black.
I also used some Valspar Cherry Red on the black frame, doing two coats within an hour, as per the directions.
So suspenseful to wait 4 hours between coats. I started at 4pm on a Saturday, then at 8pm when we had friends over I made Ana come downstairs with me so I could give it one more coat. After Josh and Ana left at around midnight I popped down for one last coat. In the morning I couldn't remember if I'd done a coat at midnight or not (I'd been pretty tired) so I did one more coat in the morning. Therefore while I said above that I did three coats of paint, it could have been four. I'm still not sure.
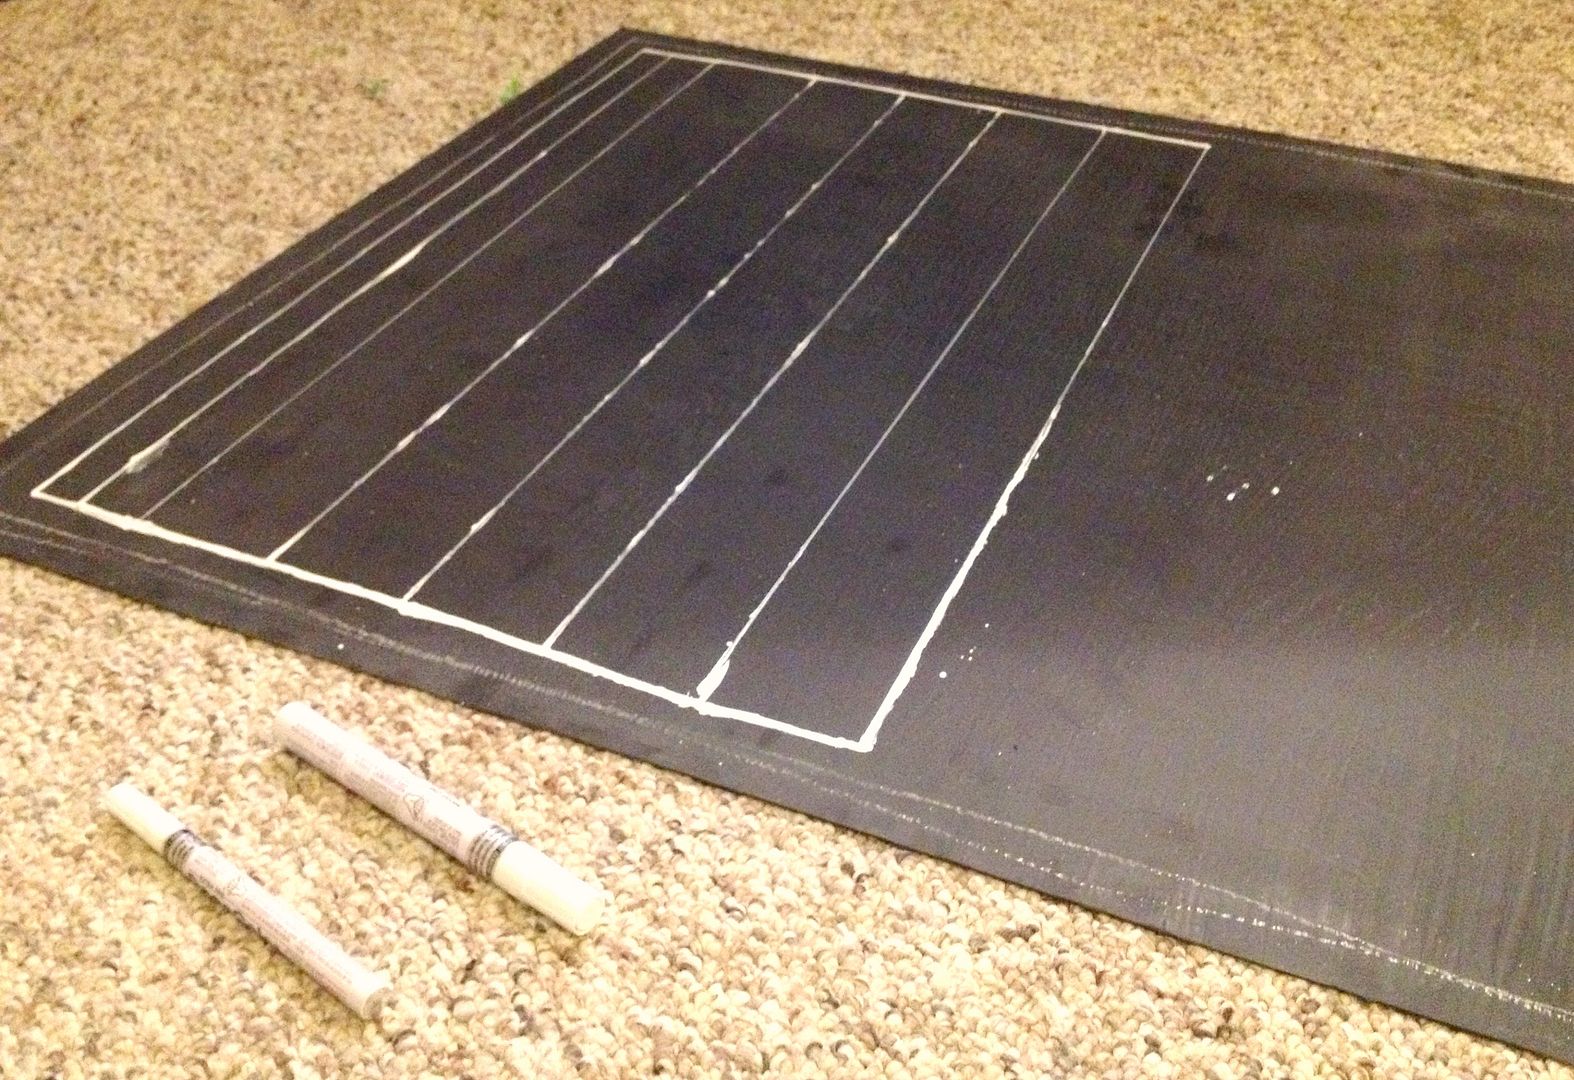
Then I pulled out the paint pens I'd bought at Craft Warehouse in the states. Jen had suggested using paint pens in her blog - she used the Sharpie brand, and I used what I could find at Craft Warehouse. I was so excited to see the crisp white lines of paint on my board.
Hmph. Not so much.
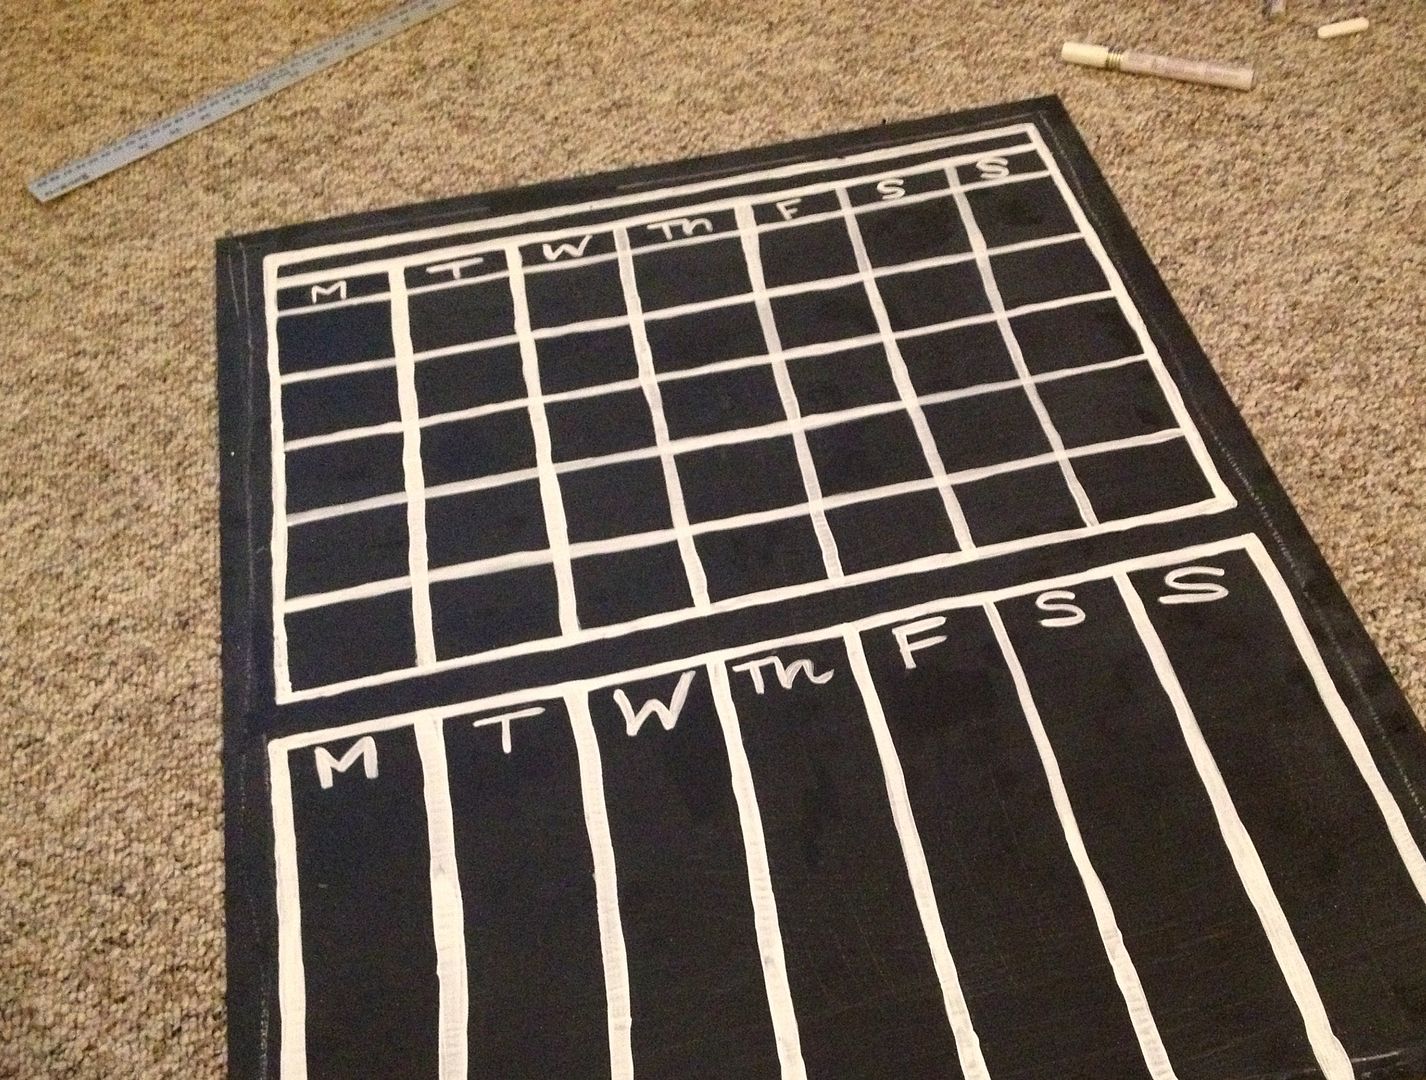
I drew out my grid on a piece of paper and using a yard stick and calculator figured out how much to leave between each row and column, and then using the yard stick and the paint pen drew it out. Which was blotching and awkward and made me want to cry.
Paul came out to check on me and I said in the whiniest voice, "it's ruined!" I thought it looked terrible. Not at all crips like Jen's was. It must be the difference in the pen or something - another solid reminder for why Sharpie brand is always the best.
Paul is very encouraging though, and he reminded me that I always find a way to make things work. Which reminded me that somewhere I had thin paintbrushes and some white paint. So plan B was a thicker line painted on. Because the paint pen was at least semi-useful to create lines, I could paint over said lines with my paint brush.
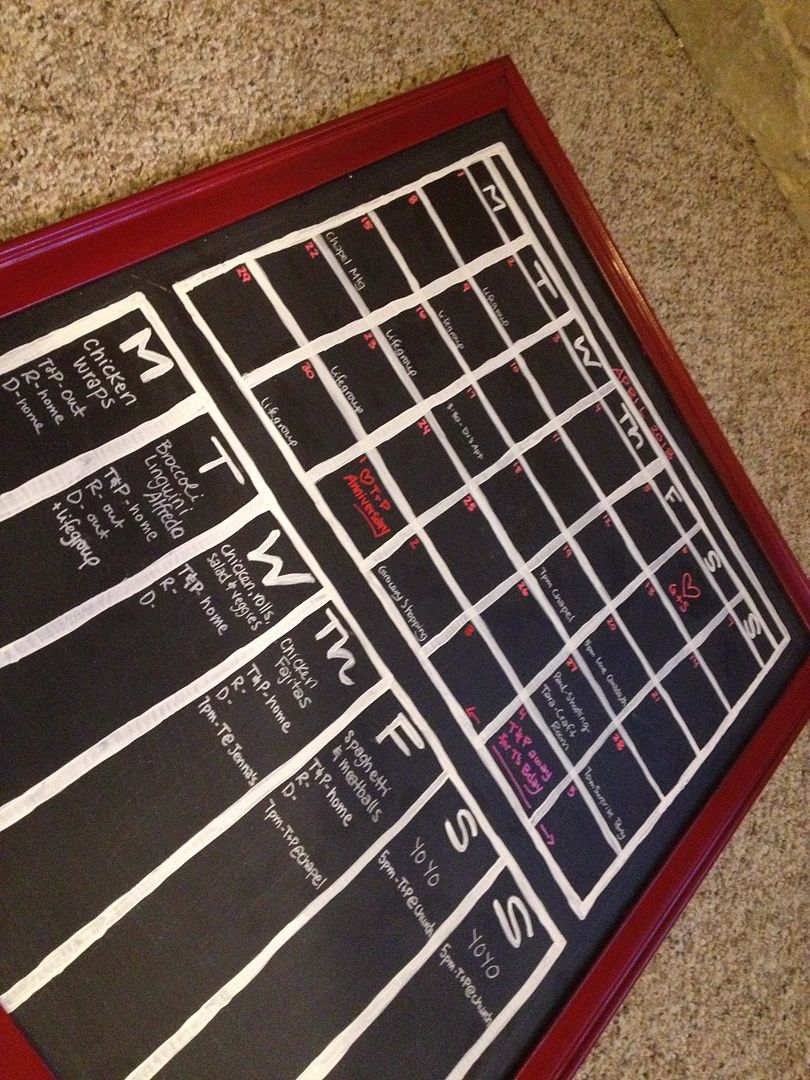
And there! Much better.
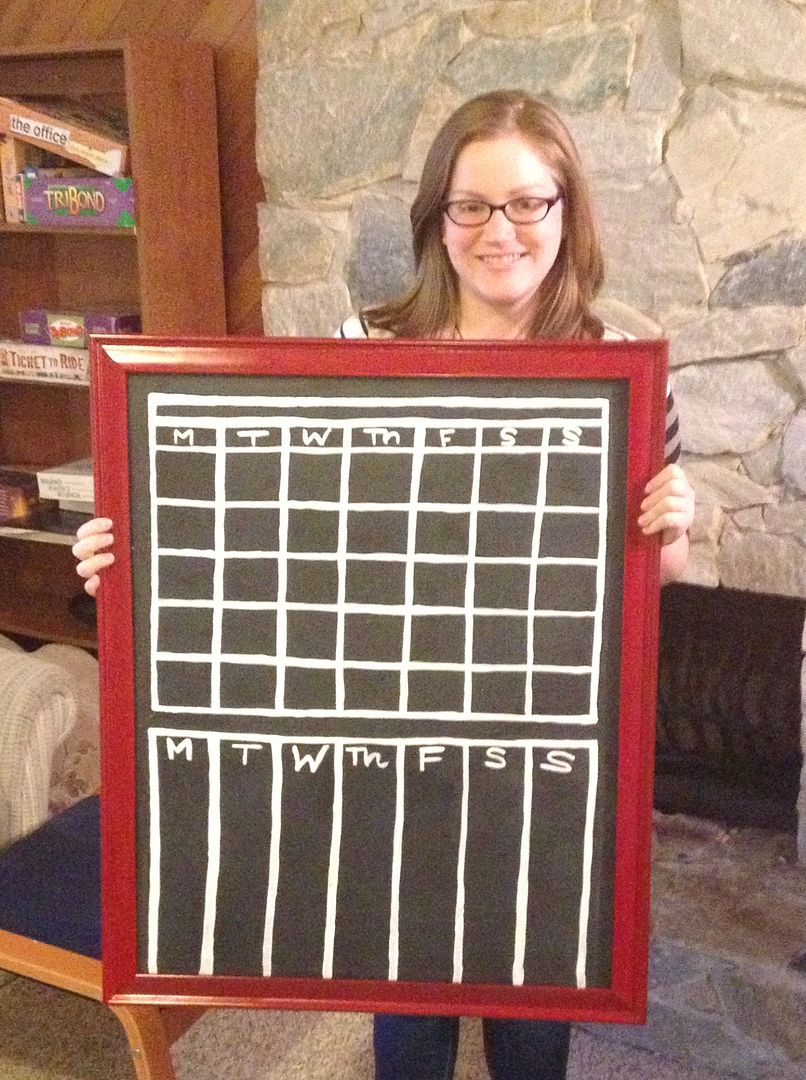
Me with my calendar!
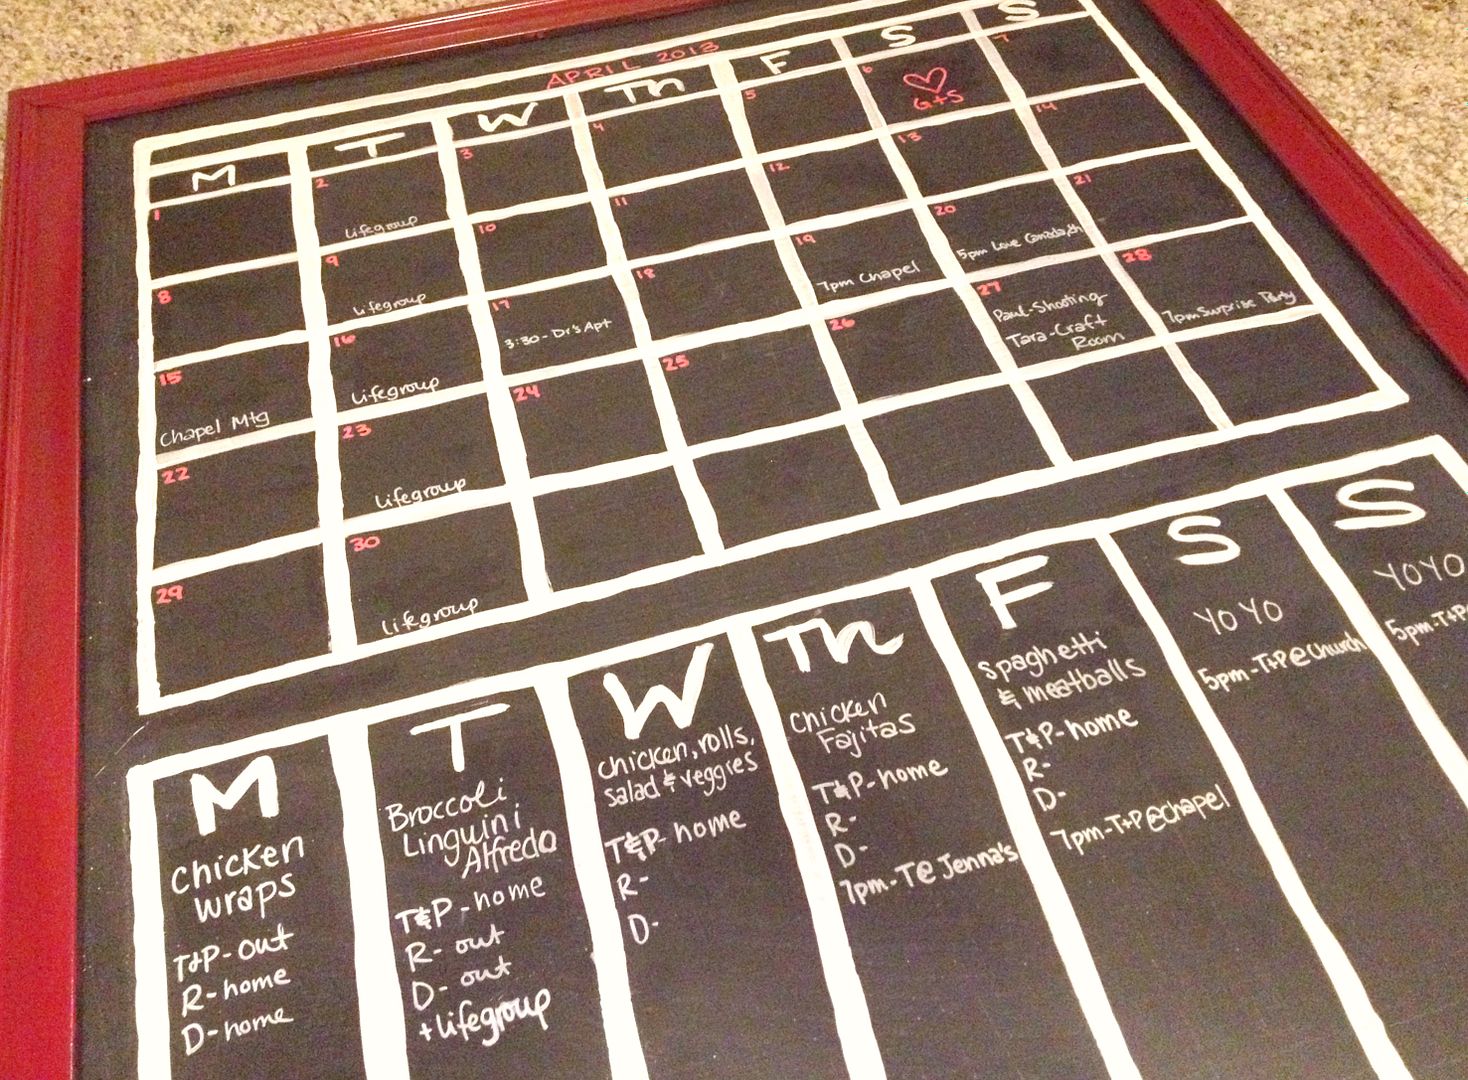
Then I grabbed a white and a red chalkboard maker and started to mark that bad boy up.
Though the red has settled and looks a bit more pink than I'd hoped for, I still really love the look of the chalkboard markers. In the future though I might go for turquoise or light blue and white, instead of the red/pink.
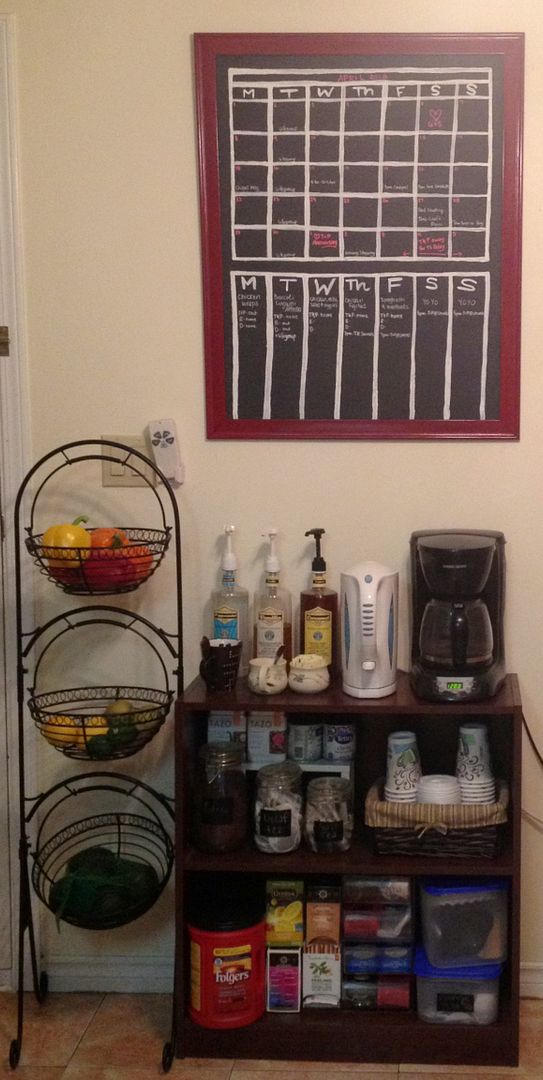
The bottom half of the board is for our meal plan, and for listing who is home for dinner and what the evening might look like. Our students know that if I have to go out at 7pm dinner will be earlier, but if we're having people over dinner will probably be later. This way they know what's up and what we'll be eating.
The bottom of the calendar is ok for now, but I think I might use chalkboard paint to paint over the bottom half of the weekly section and leave it blank for welcome notes and coffee instructions, since the board hangs above our coffee station.
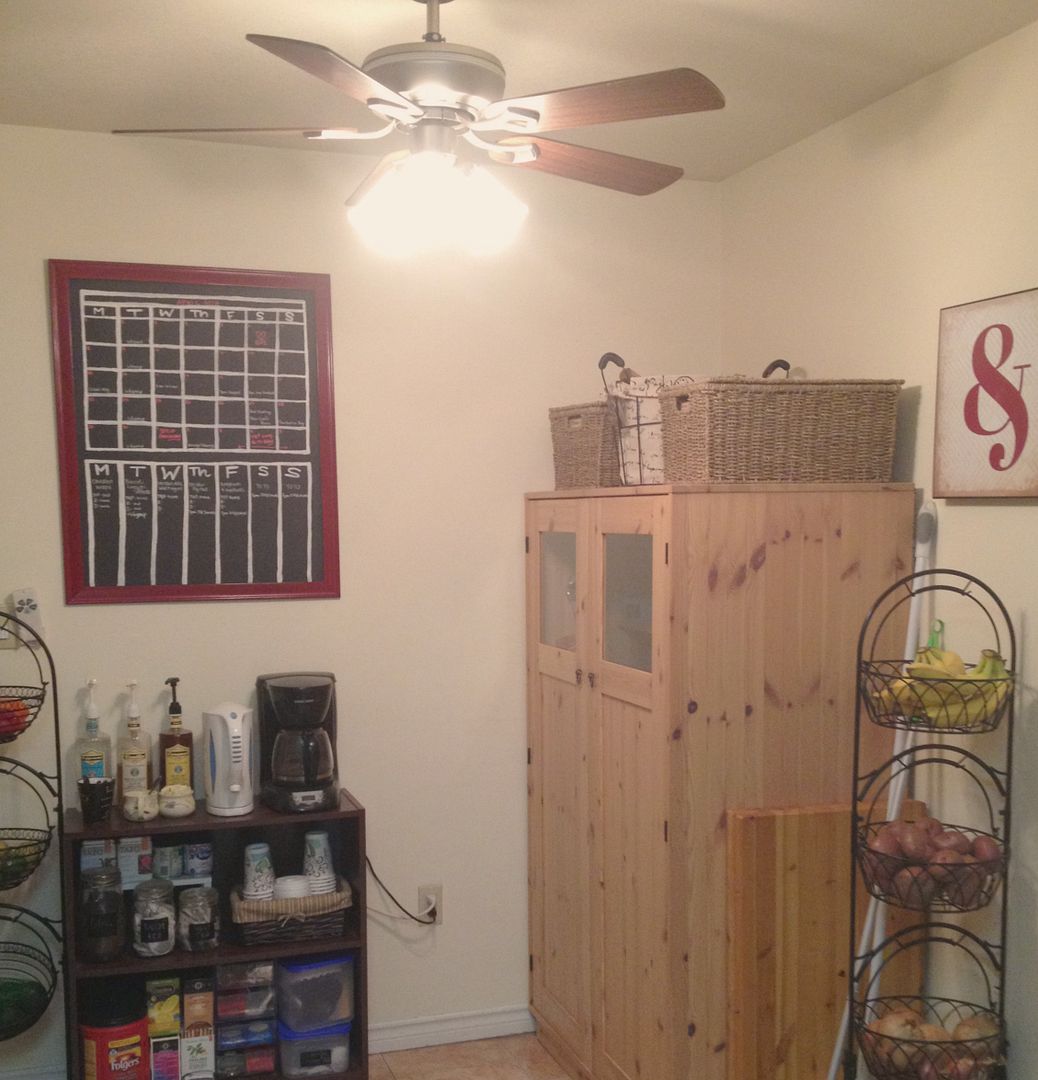
I love how it looks.
Especially with the red "&" sign from Target.
Despite some of my issues with this project I love it. I will definitely be making more of these in the future - It's a great addition to the student rooms that we furnish - and it's a great thing to use for events. I think I'll make one with a grey or white frame to put at the front door for parties and such.
No comments:
Post a Comment