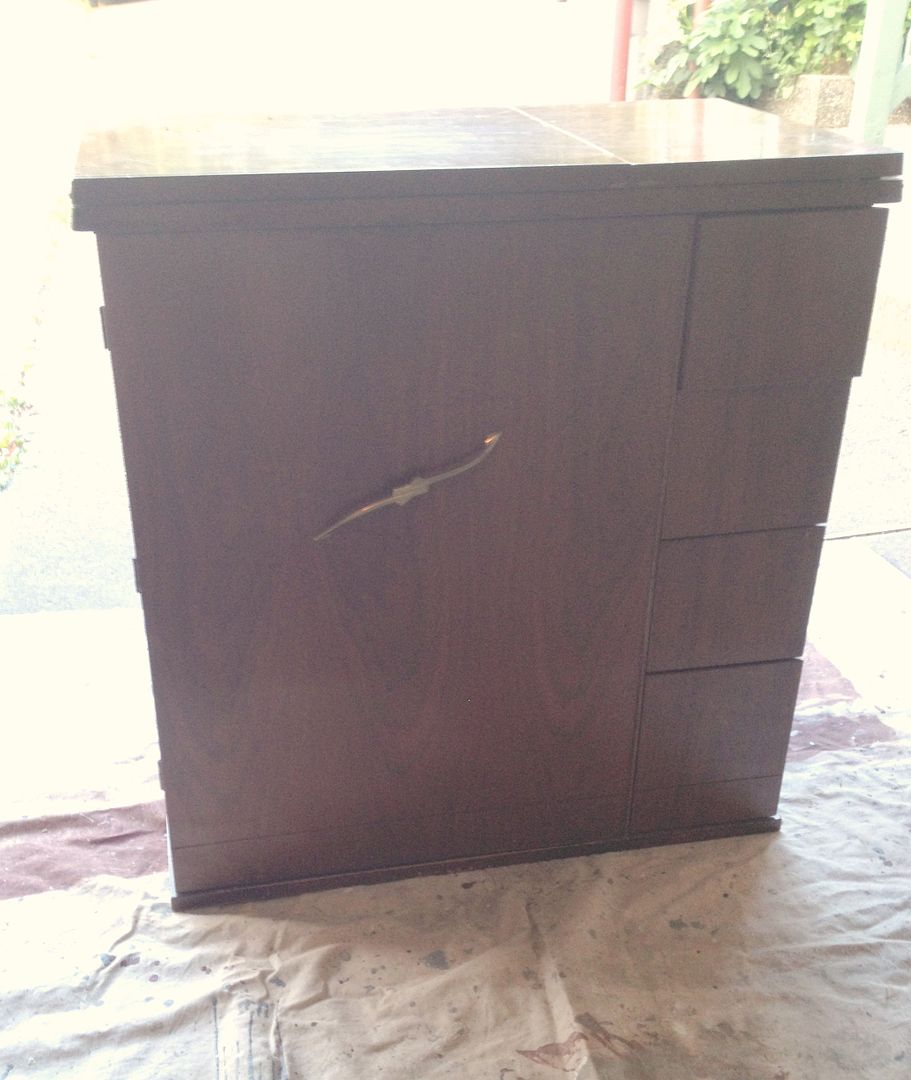
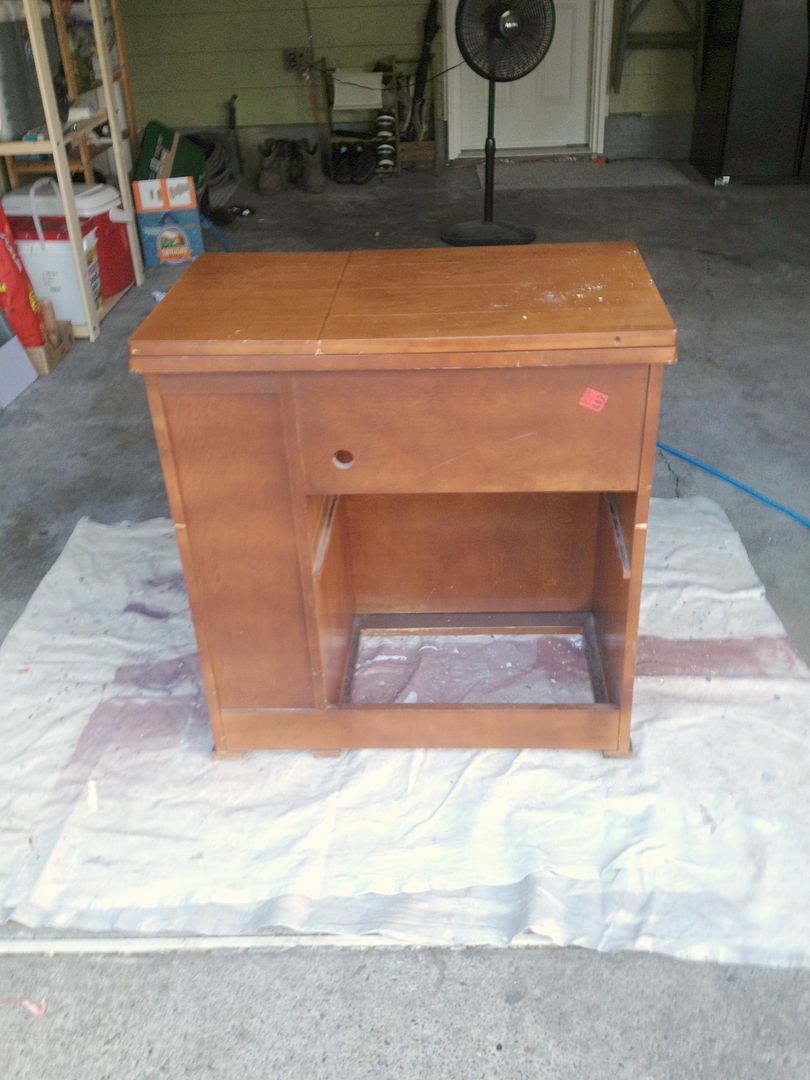
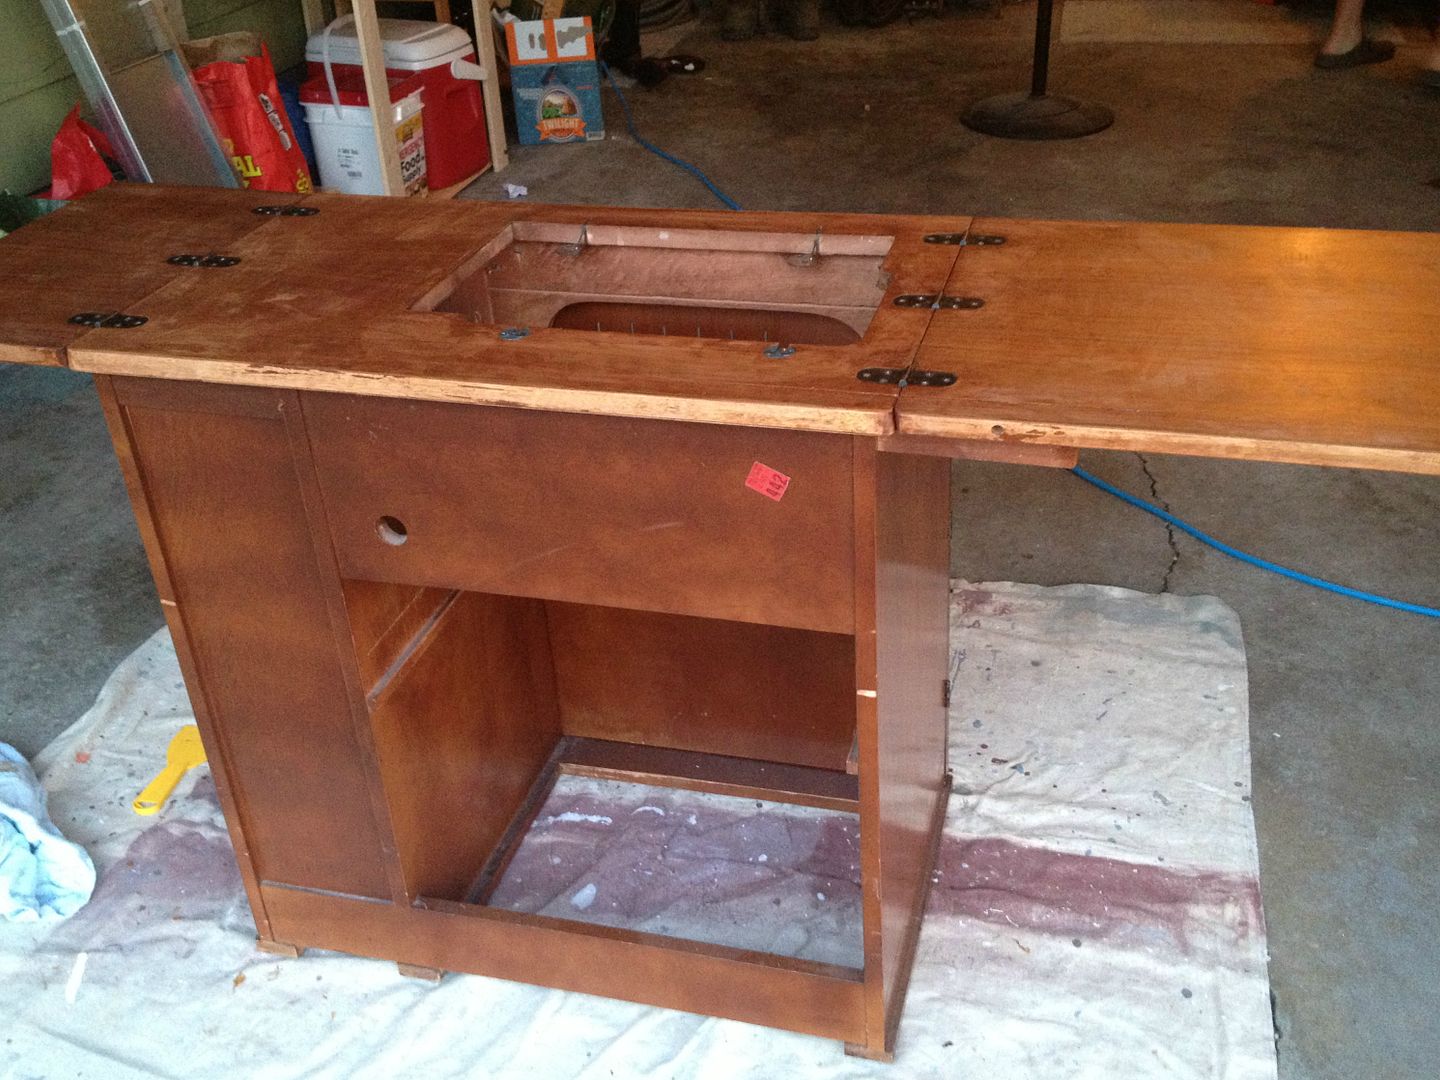
There were two problems: I did not have a sewing desk and had no idea where to find one. Thankfully I am quite the craigslist troll - the last time I wanted a specific piece of old crappy furniture to revamp I scoured craigslist until I found exactly what I wanted. So I decided to do that again. I started searching Craigslist and FINALLY I came up with something. The biggest problem was that a free sewing machine desk on craigslist is going to go like crazy. I discovered the ad around 11am on a work day. I immediately called the owner (the post hadn't even been up for half an hour) and told him that Paul could be there at 4pm that day to pick it up. I confirmed that FOR SURE we would be there and asked him not to give it away until then. I called him at 3:30pm to let him know Paul was on the way and he said he had another 20 phone calls over the day! I'm so thankful I jumped in immediately and that he held it for us! Paul arrived to picked it up and it was perfect!
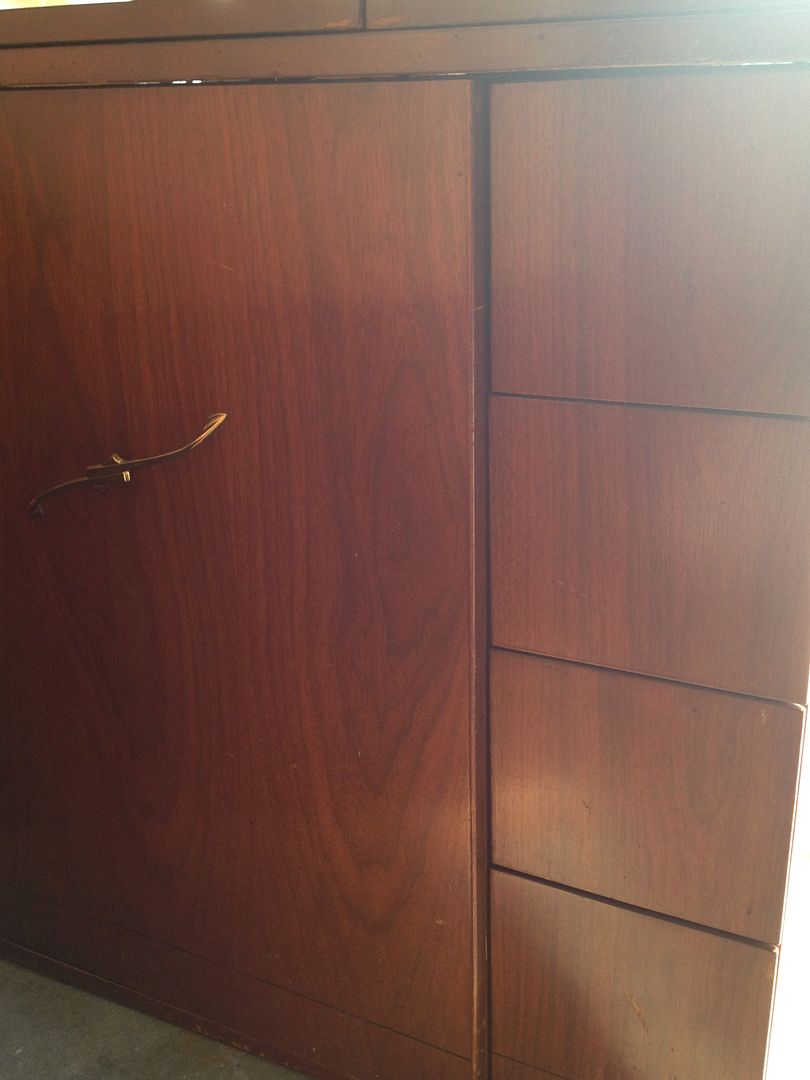
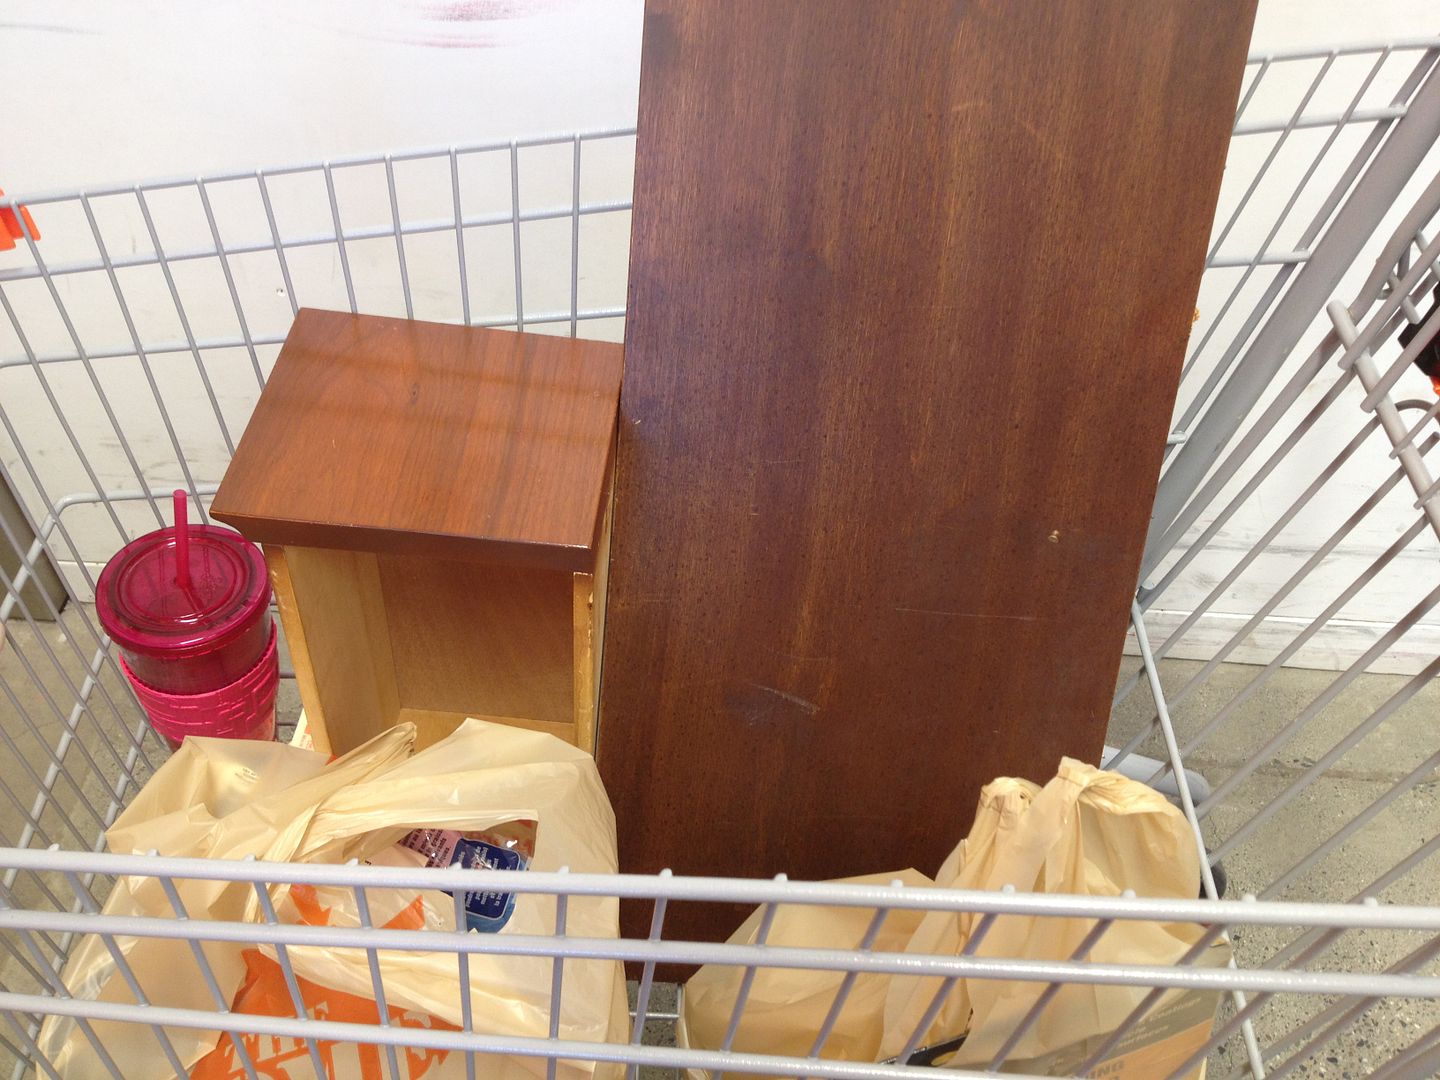
Then I headed off to Home Depot to talk to my favorite paint lady - Anna. Anna has helped me with all my paint projects and I love her for it. I even made sure to bring one of the drawers so that we would be able to match color and make a plan with all the details in mind. We decided to paint the base turquoise but stain the top a dark brown. She helped me pick a liquid shellac remover that let me strip the top of the piece, and then some sandpaper to smooth out the base. She gave me detailed instructions (Anna is seriously the best) and I was on my way.
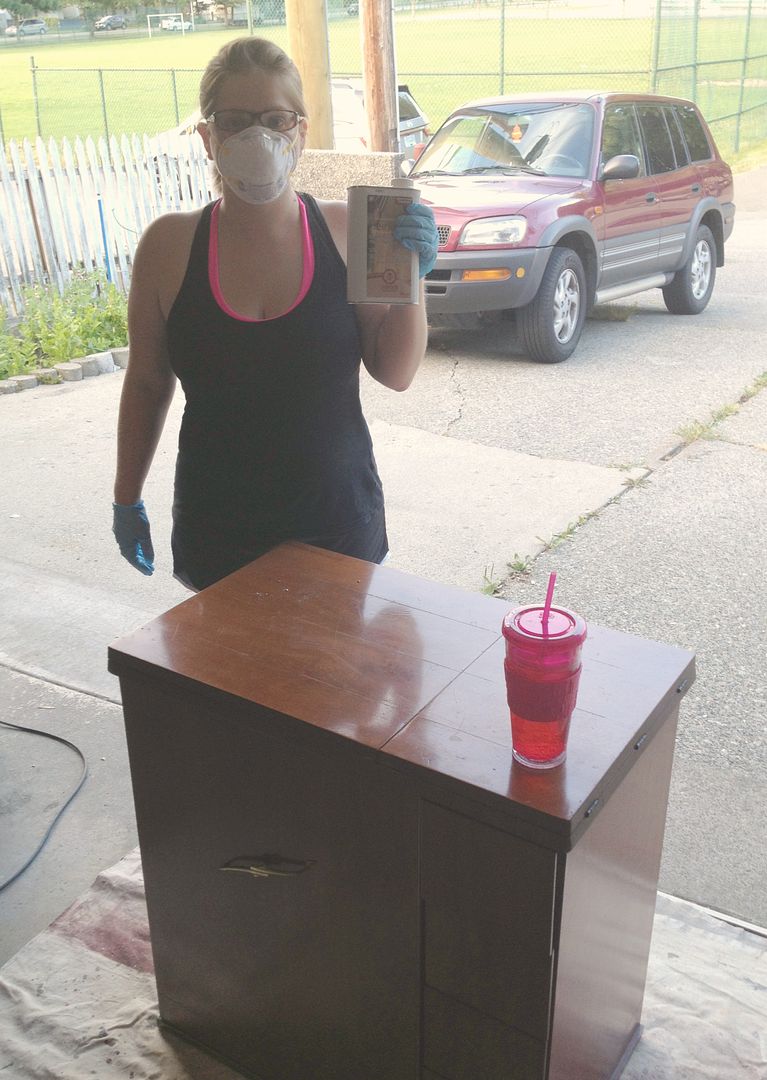
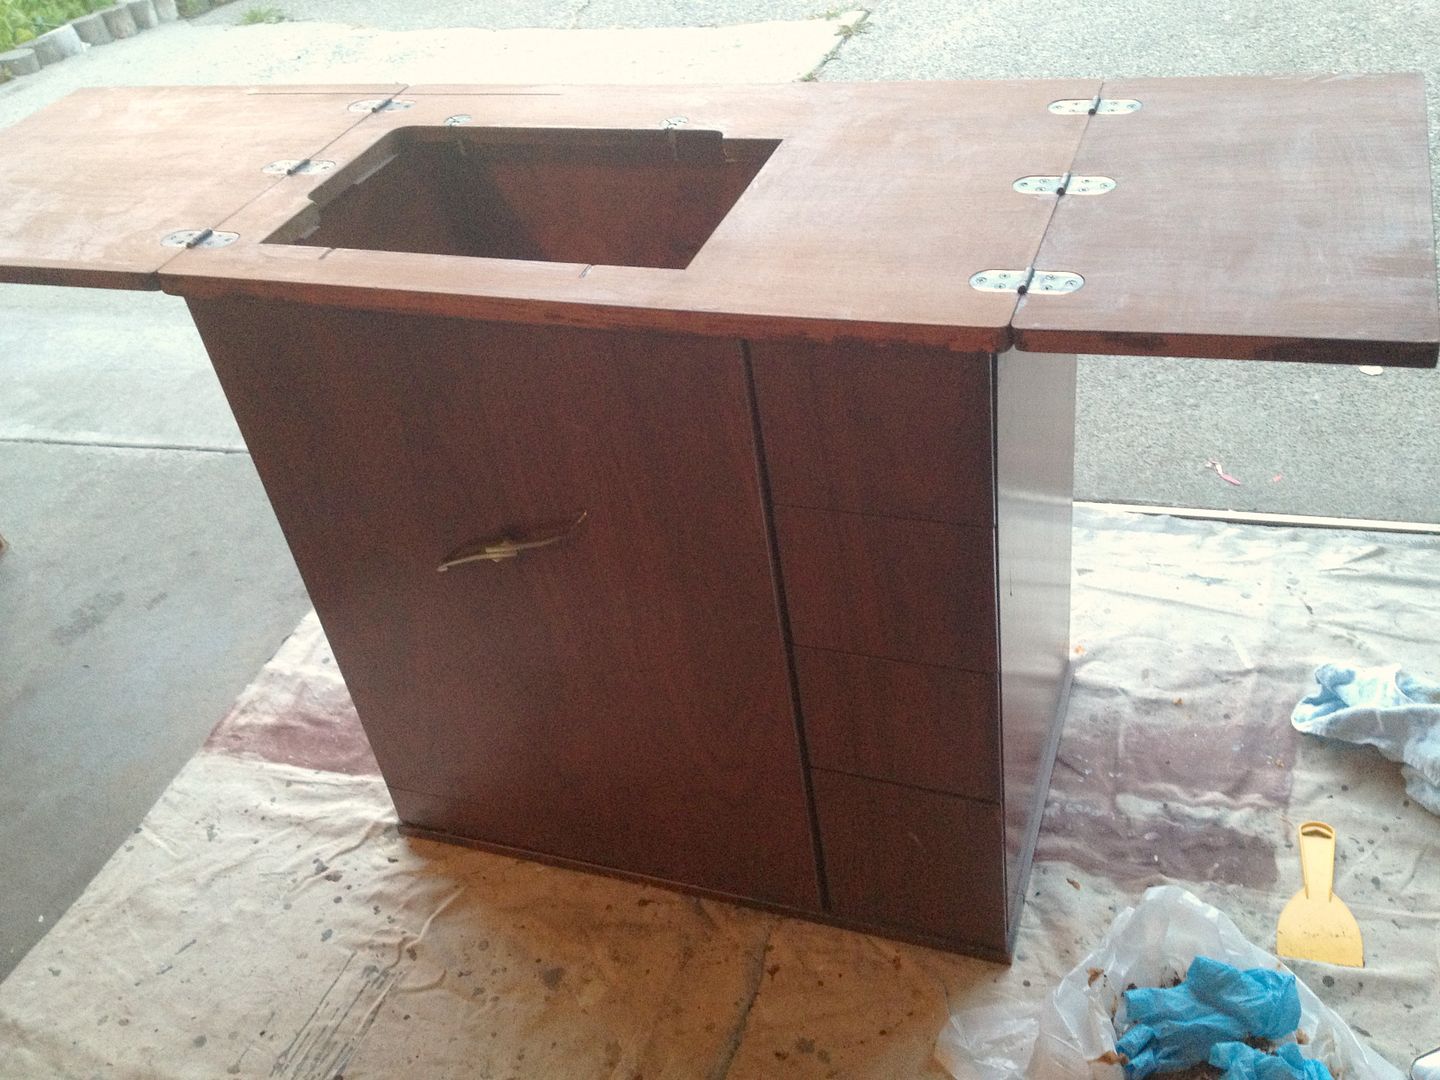
I used the liquid remover to strip the top of the cabinet, then Paul very kindly used my Uncle's electronic sandpaper tool and sanded that down for me and it was ready for painting! I did two coats of the turquoise on the base and then 2 coats of the stain on the top.
Ready to strip the surface!
Stripped!
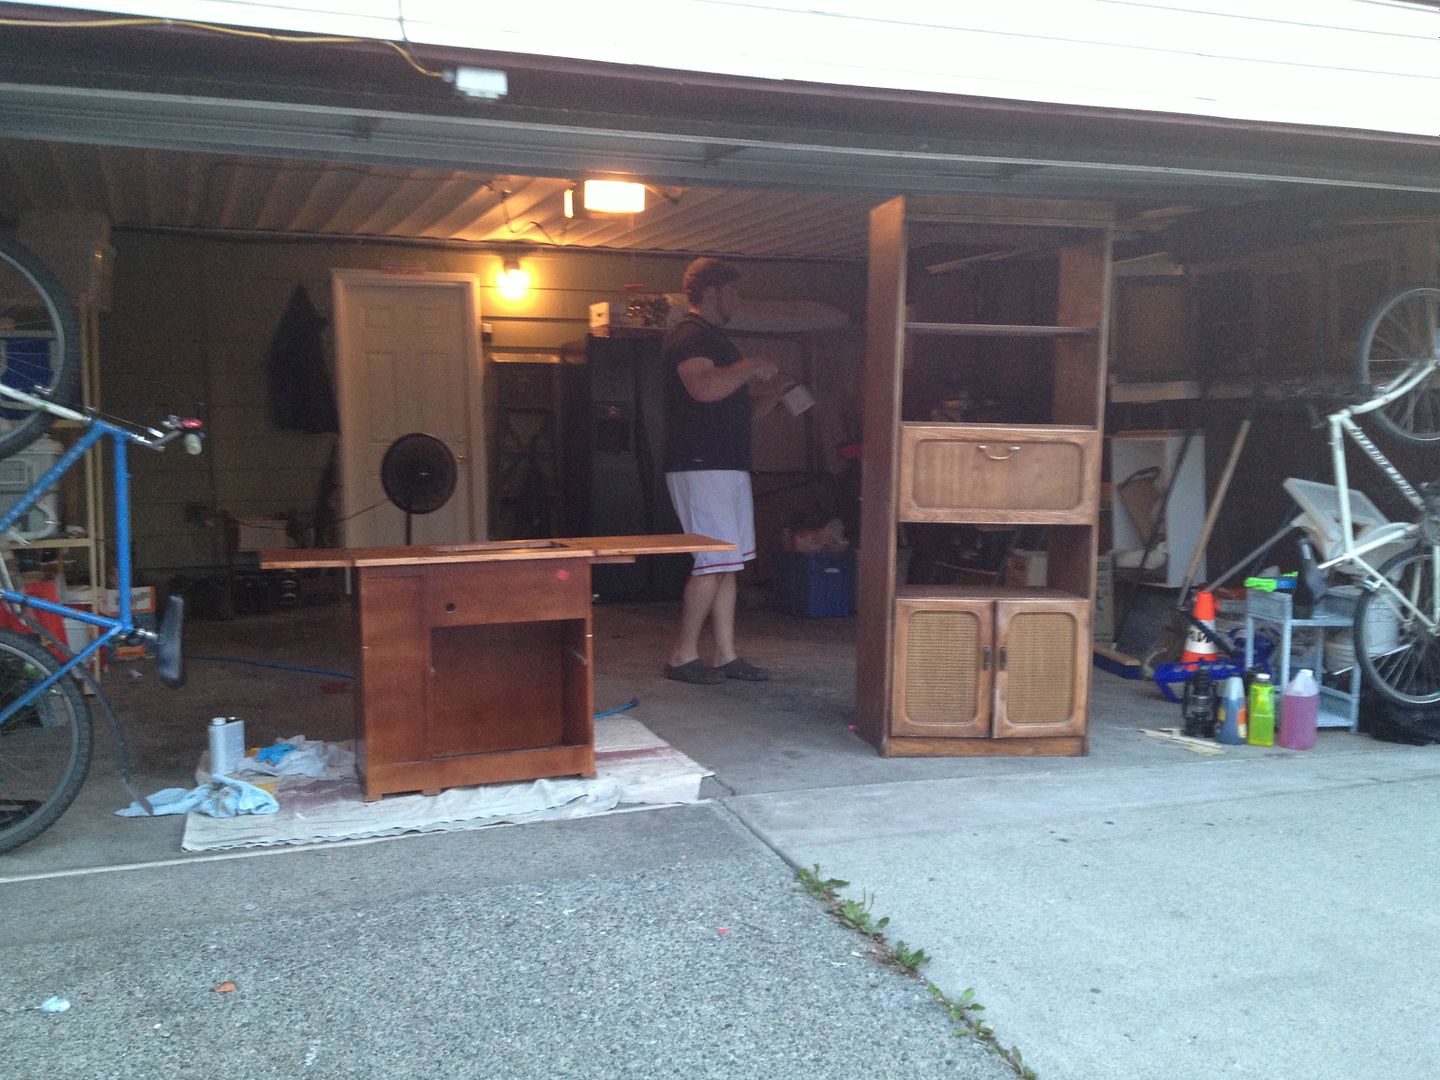
Paul sanding the secretary and then next the base of the desk
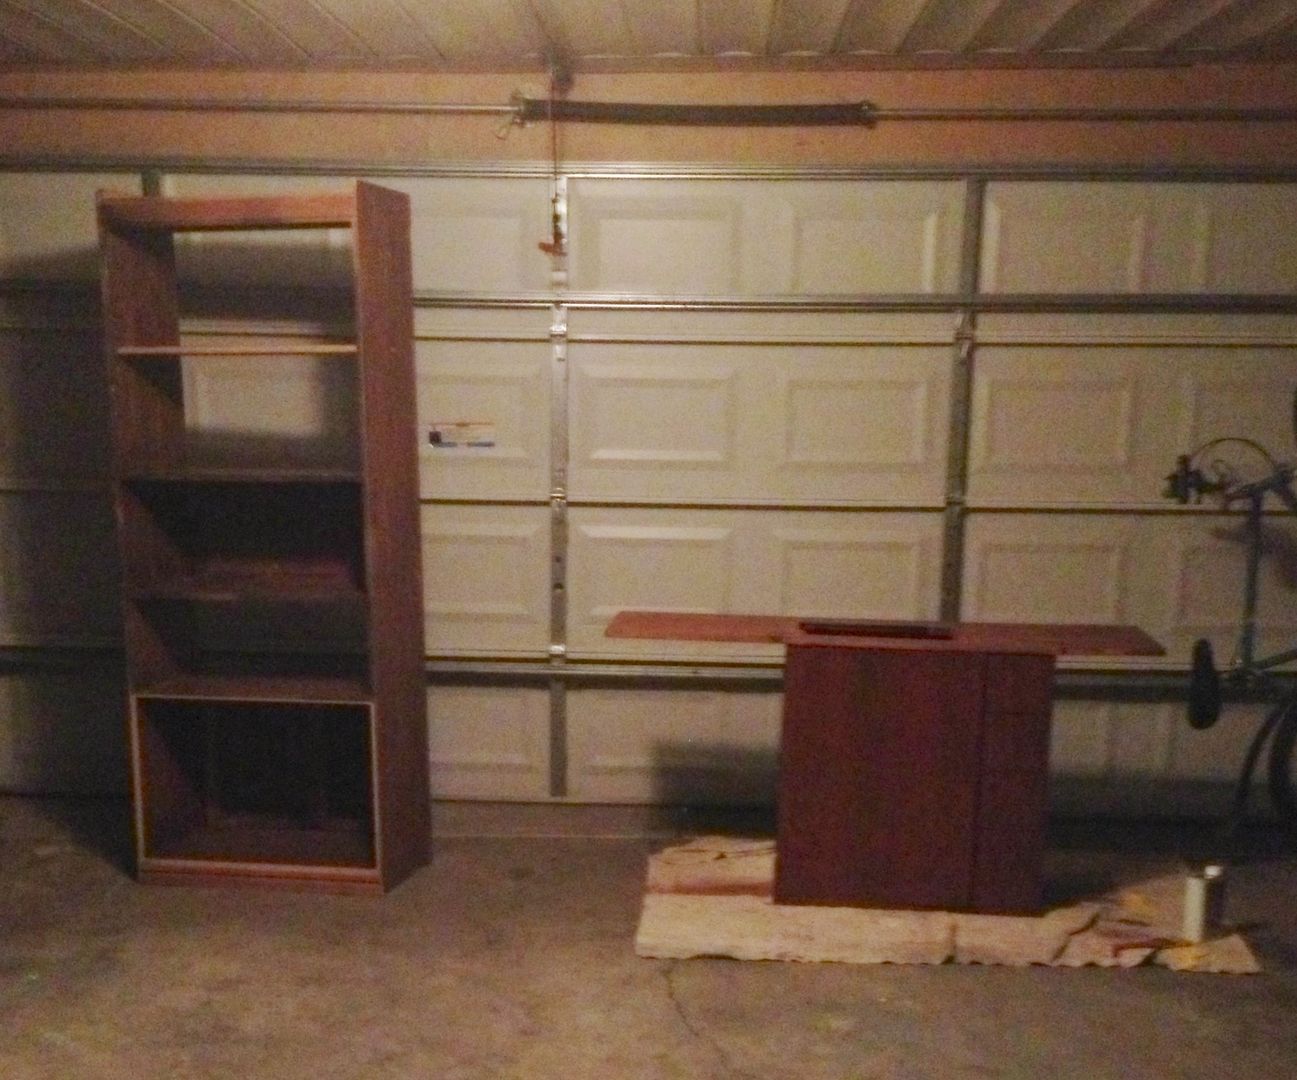
Garage all closed up with cabinets stripped and sanded, ready for paint!
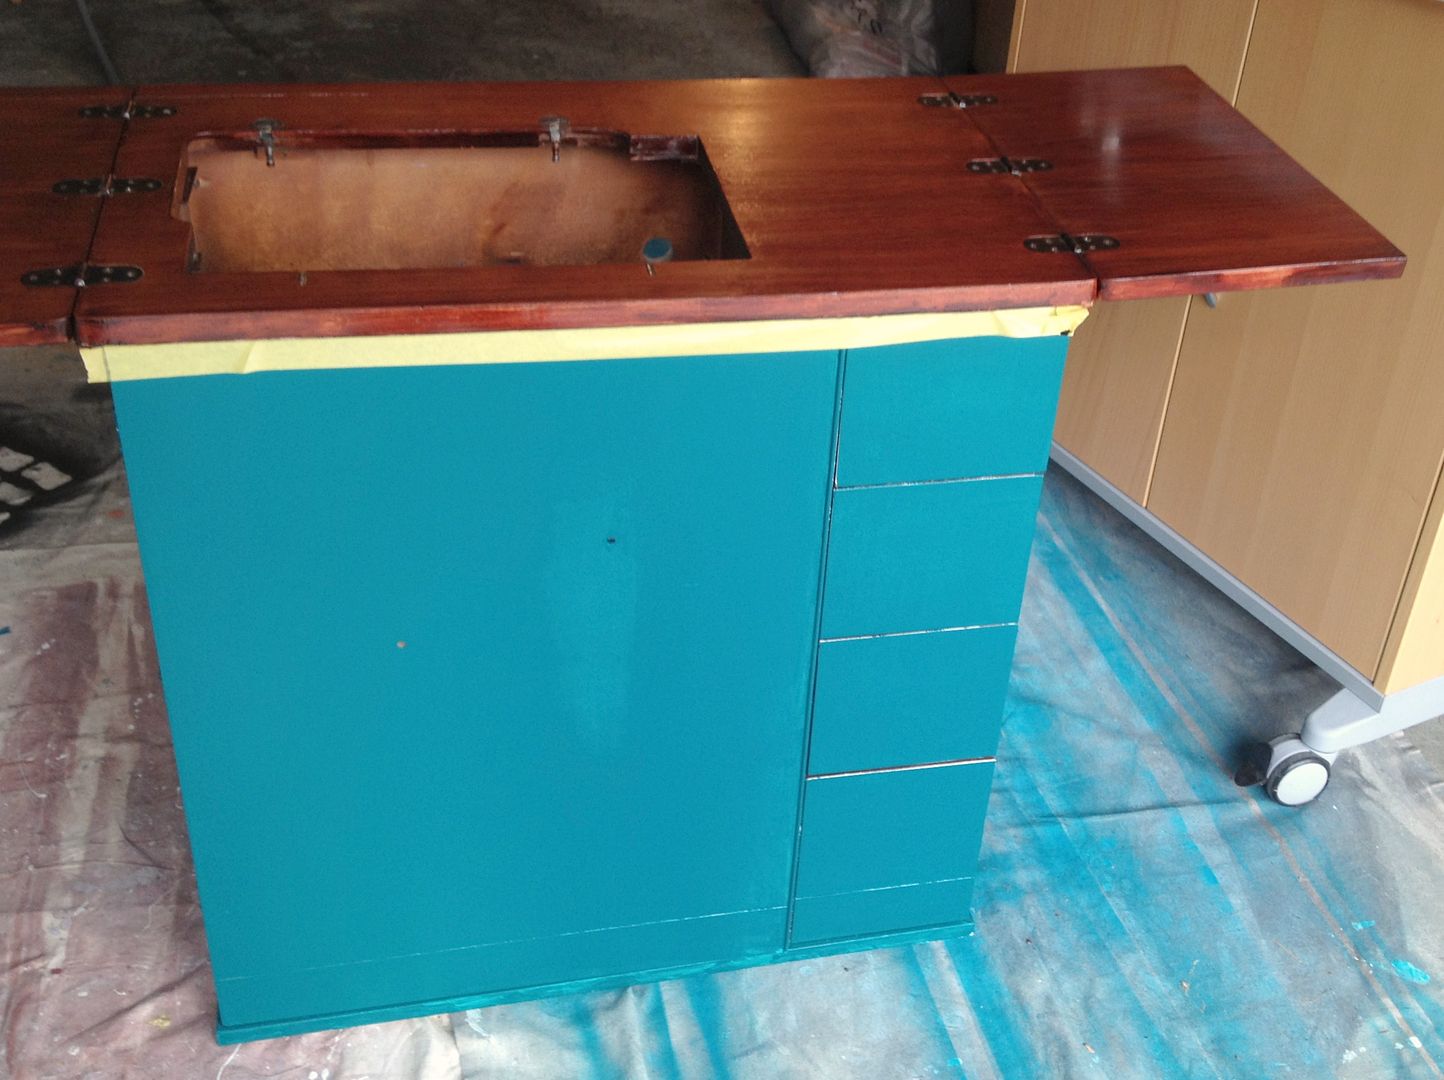
Two coats of turquoise down (with one more patch coming to fill in that blurry spot), and ready to stain!
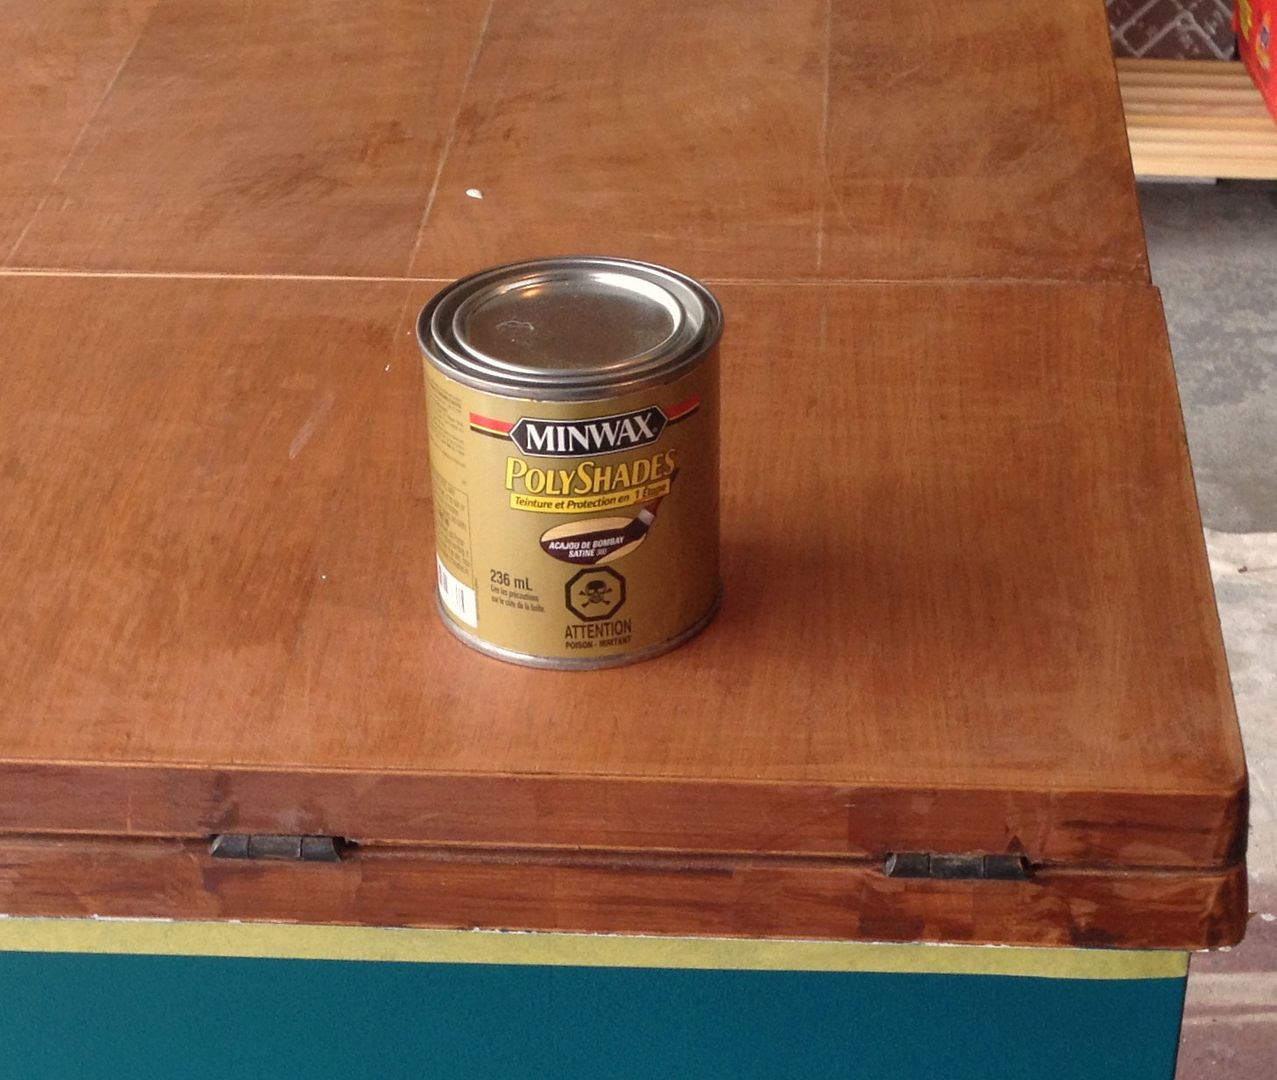
The before of the wood and the stain we used
My friend Elle helped me with this part...look how smooth the wood looks. I love it!
Then it was brainstorming time - while the cabinet had a perfect hole (and insert to fill the hole when not in use) there was no mechanism in place to hold a bucket or ice tray. I wasn't sure how I could put a basin in there to hold ice for drinks. Paul and I had lots of ideas and finally decided to get L brackets from Home Depot and put them on each wall facing out, so that a bucket could rest on them. Also, finding a perfect size of bucket was proving very difficult - I finally found the one at Dollarama - it was a litter box and it was $1.25. Awesome.
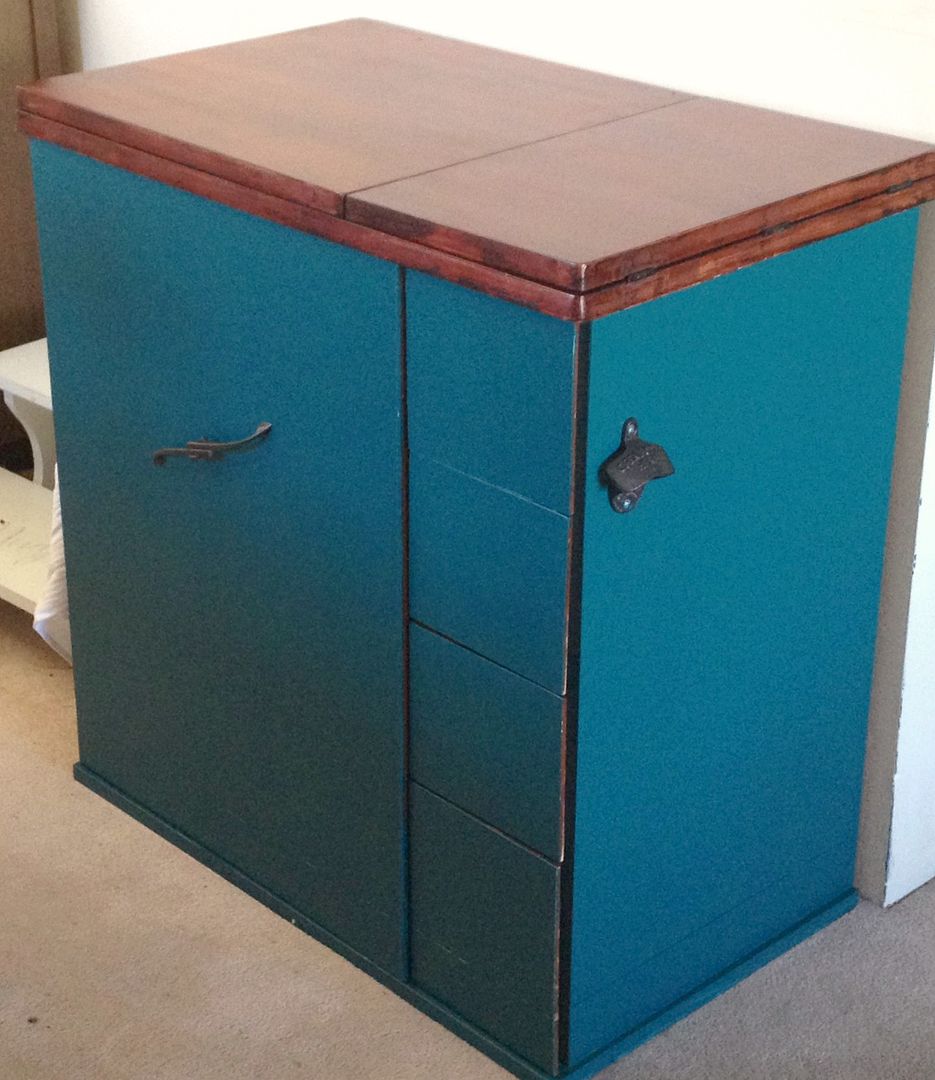
Paul installed the brackets and tub for me and I worked on spray painting the door handle and two pieces of hardware the same color (a old fashioned bottle opener and a hook for hanging a bar towel). Once they were dry, Paul attached them for me and with those additions the cabinet was complete.
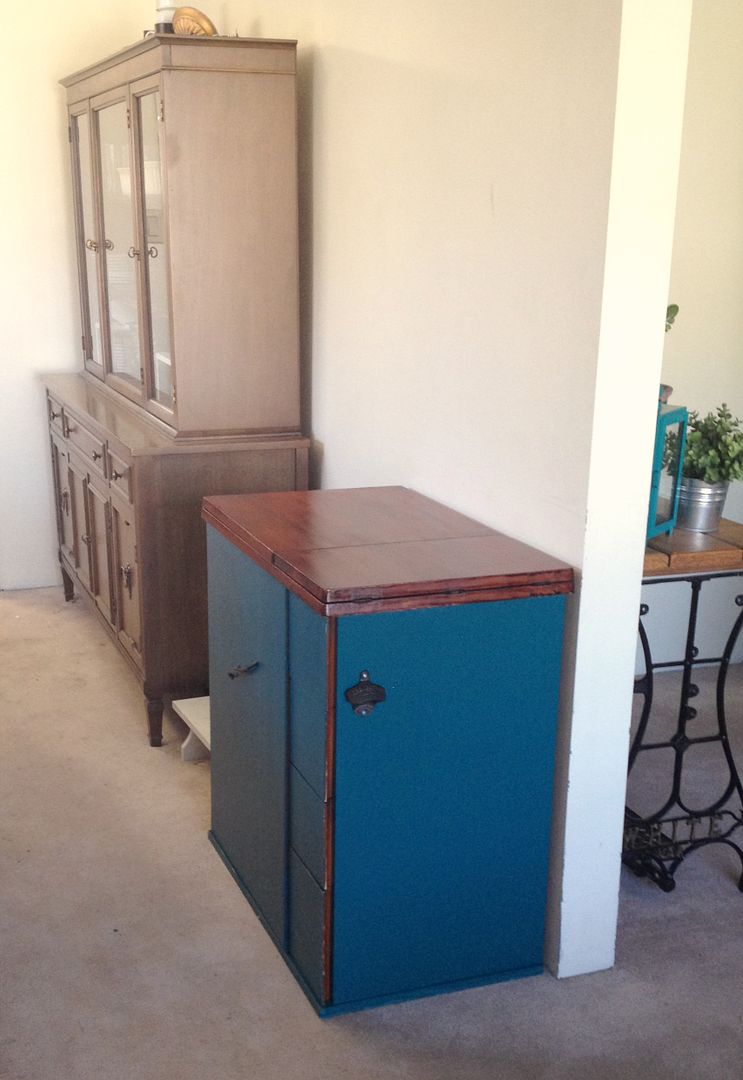
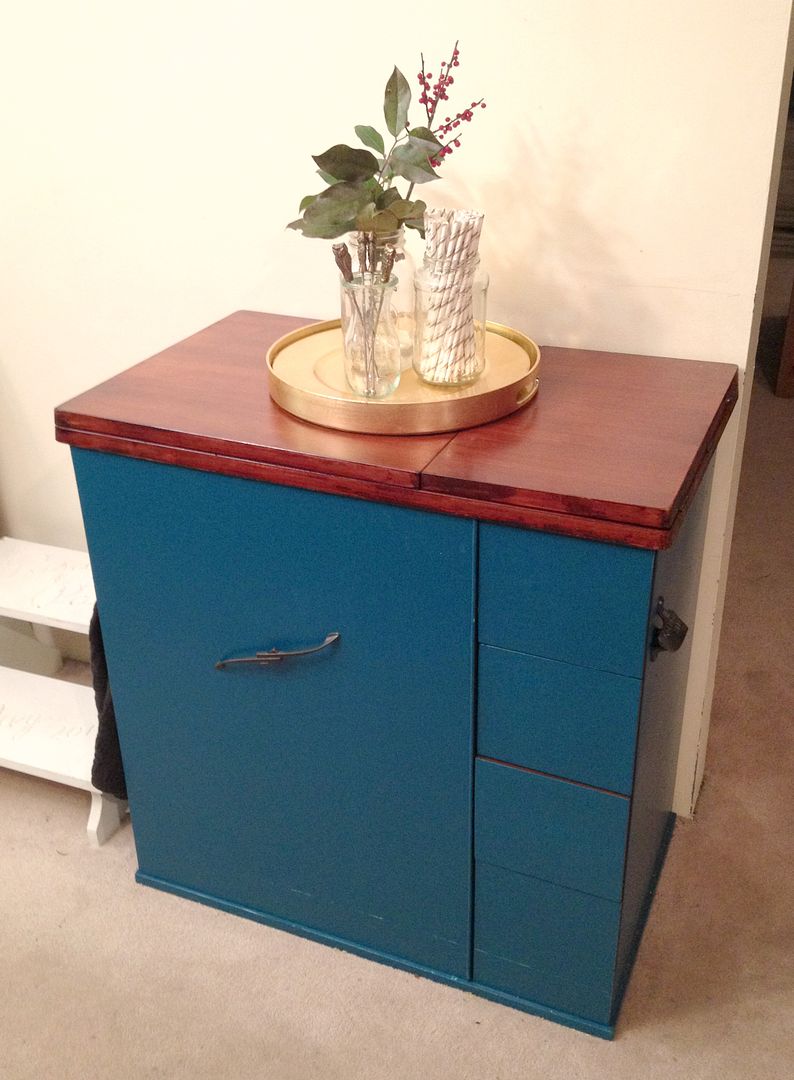
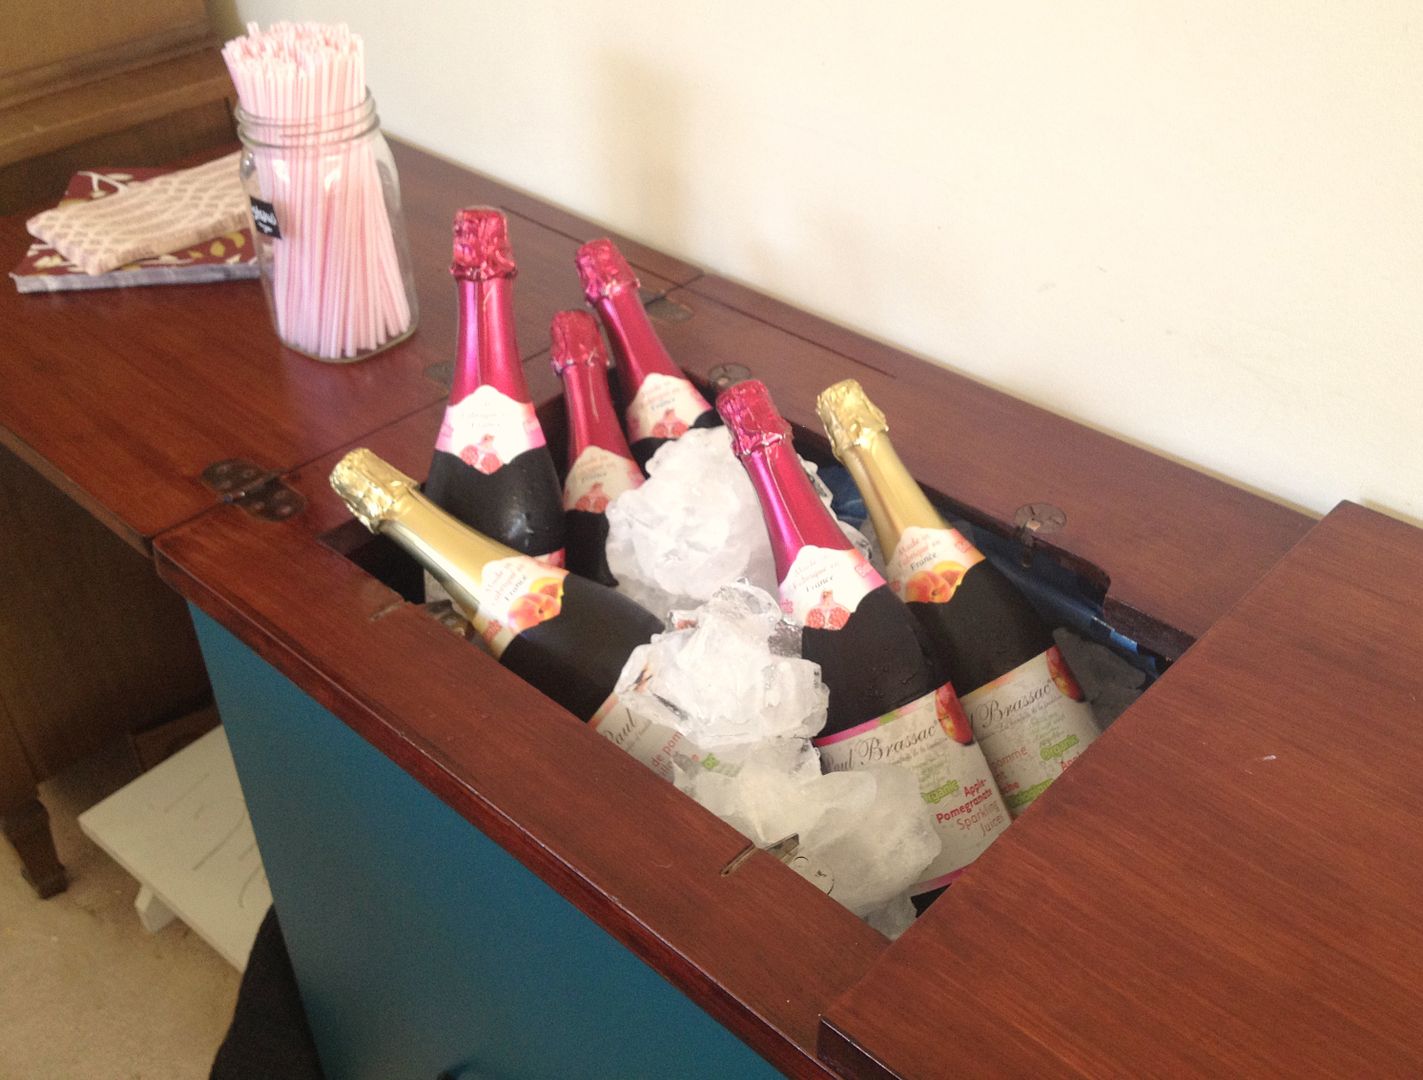
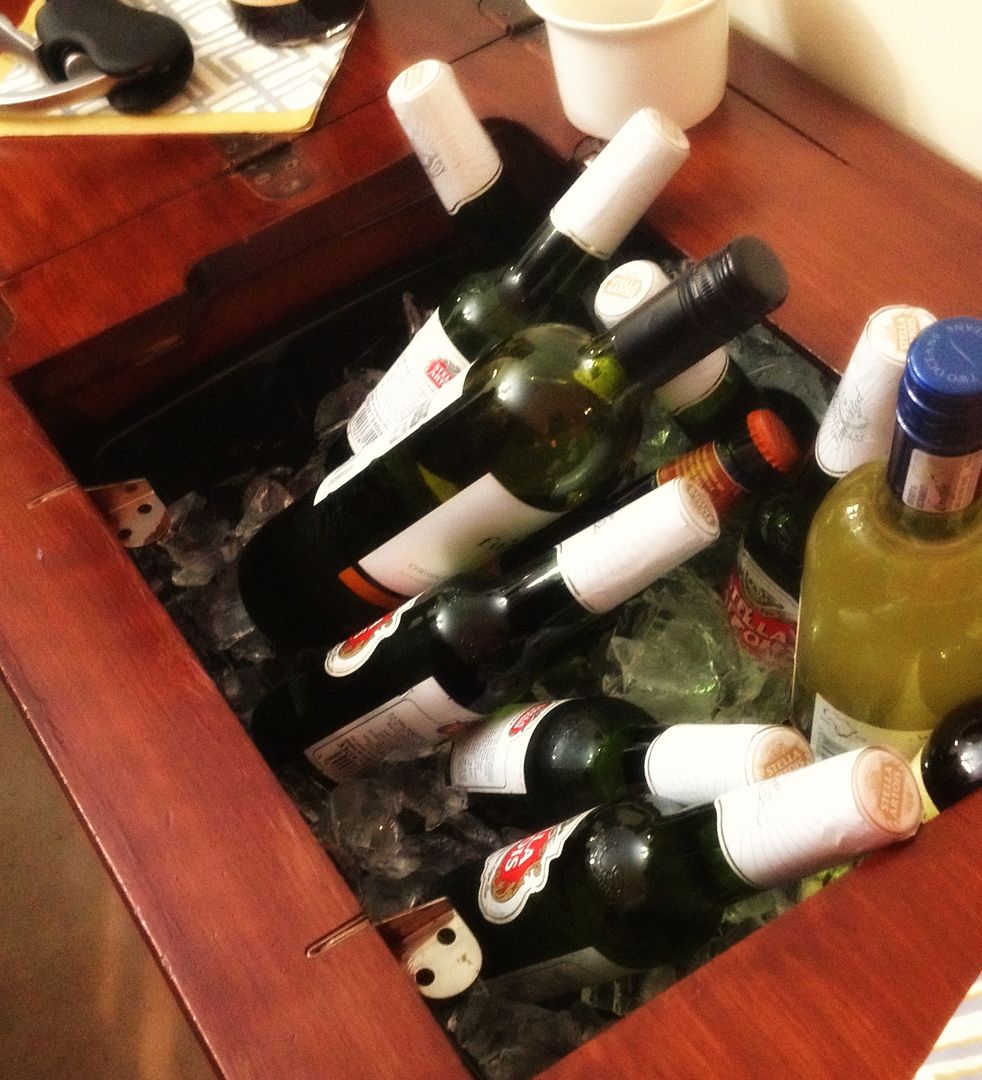
The new bar not only adds a nice splash of color to the dining room but it's so useful. Even all closed up it nicely holds cocktail helpers (like my new stir sticks from my great friend Irene) and once opened up it's perfect for parties. We brought the bar up in October just in time for Thanksgiving - it's been so wonderful ever since. Tons of parties and different events now and I can attest that it holds up through all of them.
The tub also makes a great pouring station!





1 comment:
I thought this was so cool I showed it to David. He is very impressed.
Post a Comment